Knowing how to properly bandage a hand is an essential first-aid skill that can help promote healing and prevent infection after minor injuries. Whether you're dealing with a cut, burn, or scrape, using the correct bandaging technique ensures proper protection while maintaining hand mobility.
This comprehensive guide will walk you through the steps of properly bandaging a hand, what supplies you'll need, and how to monitor the healing process effectively.
Essential Supplies for Hand Bandaging
Before beginning the bandaging process, gather these necessary supplies:
- Clean water and mild soap
- Sterile gauze pads
- Roller bandage (2-3 inches wide)
- Medical tape
- Antiseptic solution
- Clean scissors
- Disposable gloves
Step-by-Step Guide to Bandaging a Hand
1. Prepare the Wound
Start by thoroughly cleaning your hands and putting on disposable gloves. Clean the wound with mild soap and water or an antiseptic solution. Pat the area dry with a clean gauze pad.
2. Apply Initial Dressing
Place a sterile gauze pad directly over the wound. For cuts or scrapes, ensure the pad extends beyond the wound edges by at least half an inch on all sides.
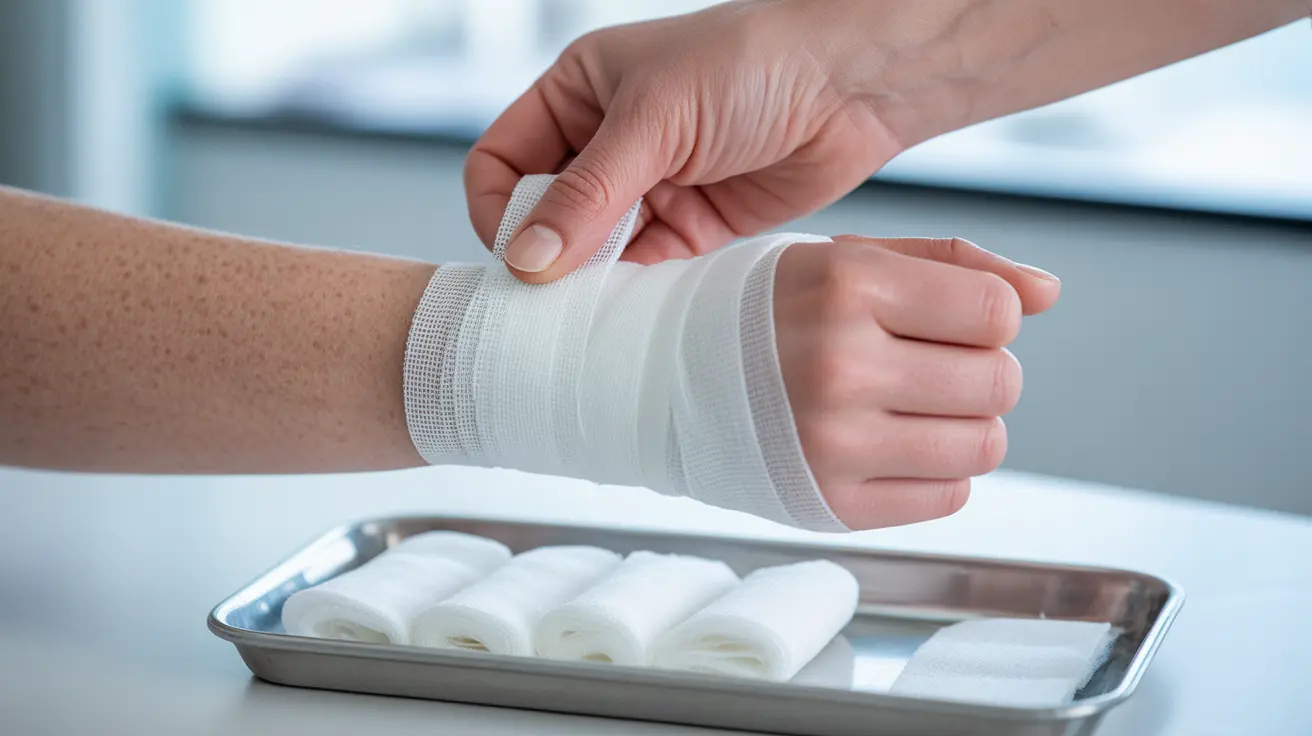
3. Secure with Roller Bandage
Begin wrapping the roller bandage at the wrist, moving toward the fingers. Use these specific techniques:
- Start with two anchor wraps around the wrist
- Work up toward the injury site using spiral turns
- Create figure-eight patterns around the thumb if needed
- Ensure even pressure throughout
- Secure the end with medical tape
Monitoring and Maintenance
Check for Proper Fit
A properly applied bandage should be snug but not tight. You should be able to slip one finger between the bandage and your skin. Watch for signs that the bandage is too tight, such as:
- Numbness or tingling
- Skin turning blue or pale
- Increased pain
- Cold fingers
- Limited movement
Changing the Bandage
Regular bandage changes are crucial for proper healing. Generally, change the bandage:
- Once daily for minor wounds
- More frequently if the bandage becomes wet or soiled
- When directed by a healthcare provider for serious injuries
When to Seek Medical Attention
While many hand injuries can be treated at home, some require professional medical care. Seek immediate medical attention if:
- The wound is deep or gaping
- Bleeding doesn't stop after 10-15 minutes of direct pressure
- There are signs of infection (redness, swelling, warmth, pus)
- You can't move your fingers normally
- The injury involves joints, tendons, or bones
Frequently Asked Questions
How do I properly bandage a hand after an injury using a roller bandage?
Start at the wrist with two anchor wraps, then work up toward the fingers using spiral turns. Maintain even pressure throughout, and secure the end with medical tape. Ensure you can slip one finger between the bandage and skin to avoid restricting circulation.
What supplies do I need to bandage a hand at home for a minor cut or burn?
Essential supplies include sterile gauze pads, a roller bandage (2-3 inches wide), medical tape, antiseptic solution, clean scissors, disposable gloves, and clean water with mild soap for wound cleaning.
How can I tell if my hand bandage is too tight, and what should I do if it is?
Watch for signs like numbness, tingling, blue or pale skin, increased pain, or cold fingers. If you notice any of these symptoms, immediately remove and reapply the bandage with less pressure.
When should I see a doctor instead of bandaging my hand myself?
Seek medical attention for deep wounds, persistent bleeding, signs of infection, limited finger movement, or injuries involving joints, tendons, or bones. Professional evaluation is crucial for serious injuries.
How often should I change my hand bandage, and what should I watch for to prevent infection?
Change bandages daily or more frequently if they become wet or soiled. Watch for signs of infection including increased redness, swelling, warmth, pus, or fever. Keep the wound clean and dry during bandage changes.