Turf toe injuries can significantly impact your mobility and athletic performance. Learning the proper technique for taping turf toe is essential for providing stability, reducing pain, and supporting the healing process. This comprehensive guide will walk you through the essential steps and considerations for effective turf toe taping.
Understanding Turf Toe and Why Taping Helps
Turf toe is a sprain of the main joint of the big toe, typically occurring when the toe is forcefully bent upward during athletic activities. Proper taping helps limit this excessive movement, provides compression, and supports the healing process while allowing controlled movement during activities.
Essential Supplies for Taping Turf Toe
Before beginning the taping process, gather these necessary materials:
- Athletic tape (1.5 inches wide)
- Pre-wrap or foam padding
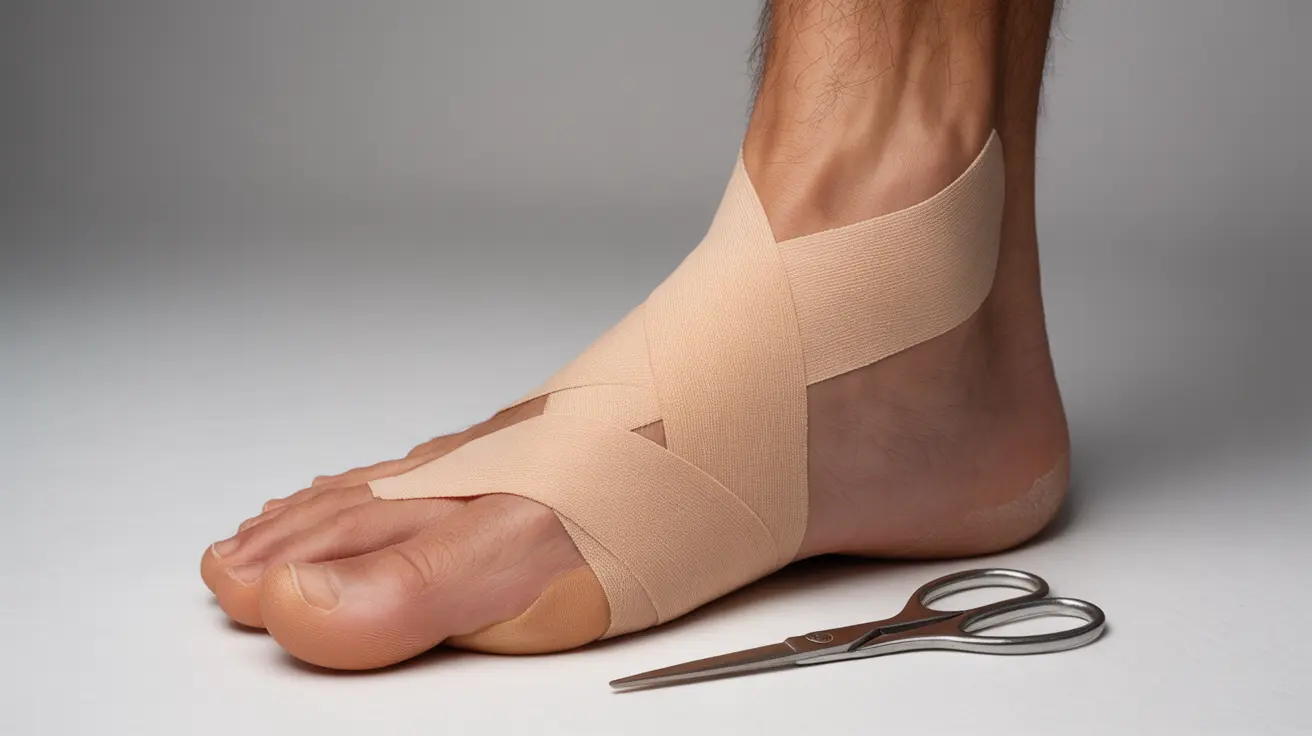
- Scissors
- Skin adhesive (optional)
- Clean, dry towel
Step-by-Step Taping Technique
Preparation
Start with a clean, dry foot. Remove any lotions or oils from the skin, and ensure the toe and surrounding area are completely dry to help the tape adhere properly.
Basic Anchor Technique
Begin by applying pre-wrap around the midfoot and big toe to prevent skin irritation. Create an anchor strip around the midfoot using athletic tape, which will serve as the foundation for additional support.
Supporting the Joint
Create a series of "U" shaped strips under the big toe and around the ball of the foot. Each strip should overlap the previous one by about half the width of the tape. This technique provides primary stability to the injured joint.
Reinforcement Method
Apply horizontal strips across the top of the foot and around the big toe to provide additional support and prevent excessive movement. Complete the taping by adding closing strips around the midfoot to secure all layers in place.
Post-Taping Care and Maintenance
After applying the tape, check for proper circulation by gently pressing the tip of the big toe. The color should return quickly after releasing pressure. Monitor for any numbness, tingling, or discomfort that might indicate the tape is too tight.
Frequently Asked Questions
How do I properly tape turf toe to stabilize the big toe and reduce pain?
Follow a systematic approach starting with pre-wrap, creating an anchor around the midfoot, then applying U-shaped strips under the toe and across the ball of the foot. Finish with horizontal reinforcement strips and ensure all edges are secure.
What type of tape should I use for taping turf toe and how wide should it be?
Use rigid athletic tape that's approximately 1.5 inches wide. This width provides optimal coverage and support while allowing proper manipulation around the toe area. Pre-wrap should be used underneath to protect the skin.
When should I apply turf toe tape and how often during physical activities?
Apply tape before any physical activity that might stress the toe joint. Replace the tape if it becomes loose or wet, typically every 3-4 hours during continuous activity. Always remove the tape after activity to allow the skin to breathe.
What are the key steps to prevent cutting off circulation or causing discomfort when taping turf toe?
Apply pre-wrap first, avoid pulling the tape too tightly, and check circulation by pressing the toe tip after taping. Create wrinkles in the tape at flex points to allow natural movement, and remove immediately if you experience numbness or tingling.
Can KT tape be used as an alternative to rigid sports tape for turf toe, and how does it differ?
KT tape can be used for turf toe, but it provides different benefits than rigid athletic tape. KT tape offers more flexibility and can be worn longer, but may not provide the same level of joint stability as rigid tape. Consider using KT tape for recovery periods and rigid tape during high-impact activities.