Understanding the correct placement of a tourniquet on an arm can mean the difference between life and death in emergency bleeding situations. Whether you're a first responder or learning essential first aid skills, knowing exactly where and how to apply a tourniquet is crucial for effective hemorrhage control.
This comprehensive guide will walk you through the precise placement of tourniquets on arms, common mistakes to avoid, and critical steps to ensure maximum effectiveness when every second counts.
Correct Tourniquet Placement Location
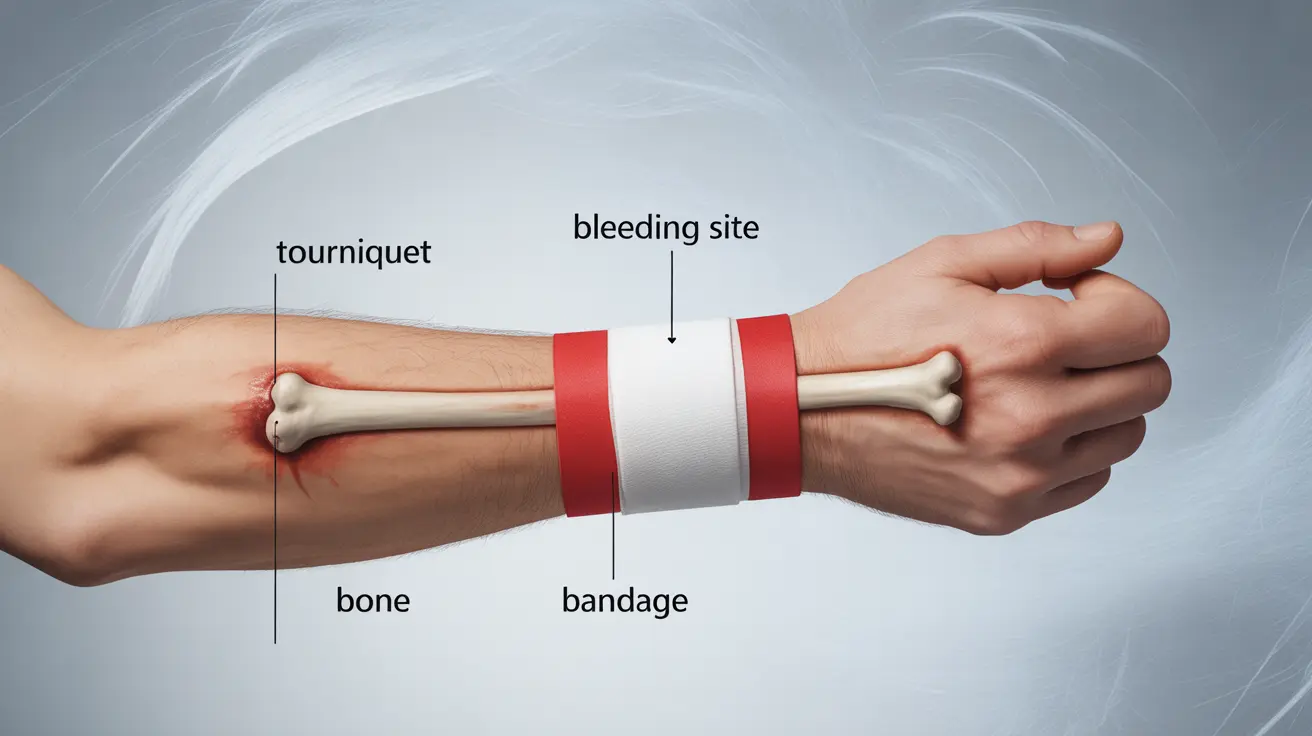
The optimal location for tourniquet placement is 2-3 inches above the bleeding site on the arm, but never directly over a joint or the wound itself. This placement should be on a single-bone section of the limb, typically on the upper arm above the elbow or on the forearm below the elbow.
For most effective results, place the tourniquet on the part of the arm that has:
- A single bone (humerus in upper arm or radius/ulna in forearm)
- Sufficient muscle mass to compress vessels
- No joints or wound sites directly underneath
- Clear access for proper tightening
Critical Placement Considerations
Avoiding Joints and Wounds
Never place a tourniquet directly over joints like the elbow or directly on the wound site. Joints have complex anatomy and varying circumference when bent, making tourniquet pressure inconsistent. Placing over wounds can drive contamination deeper into tissues and compromise healing.
Distance from Injury Site
The ideal placement is 2-3 inches proximal (closer to the heart) from the wound edge. This distance ensures:
- Adequate room for vessel compression
- Clean, undamaged tissue for proper pressure application
- Space for a second tourniquet if needed
- Reduced risk of tissue damage at the wound site
Proper Application Technique
When applying a tourniquet to an arm, follow these essential steps:
- Place the tourniquet over bare skin when possible
- Secure it tightly on the appropriate location above the wound
- Turn the windlass until bleeding stops
- Secure the windlass and note the time of application
- Reassess frequently to ensure bleeding remains controlled
Multiple Tourniquet Scenarios
If bleeding continues after applying the first tourniquet, a second tourniquet may be necessary. Place it directly above (proximal to) the first tourniquet, ensuring both are secured properly and the time of application is recorded for each.
Frequently Asked Questions
Where exactly on the arm should a tourniquet be placed to effectively stop bleeding?
A tourniquet should be placed 2-3 inches above the bleeding site on a section of the arm with a single bone, typically the upper arm above the elbow or the forearm below the elbow, avoiding joints.
Why should a tourniquet never be applied directly over a joint or the wound itself?
Joints have variable circumference when moving and complex anatomy that prevents consistent pressure application. Placing over wounds can force contaminants deeper into the tissue and compromise proper healing.
How many inches above a bleeding site should I place a tourniquet on the arm for best results?
Place the tourniquet 2-3 inches above (proximal to) the bleeding site. This distance provides adequate space for proper pressure application while ensuring effectiveness.
What should I do if bleeding continues after applying the first tourniquet on an arm?
If bleeding persists after the first tourniquet, apply a second tourniquet directly above the first one. Ensure both are properly secured and record the time of application for each.
Can a tourniquet be applied over clothing if the bleeding site cannot be exposed?
While it's preferable to apply tourniquets to bare skin, they can be applied over clothing in emergency situations where removing clothing would cause dangerous delays in treatment. However, be aware that clothing may reduce effectiveness and require tighter application.